
Arduino library for RM95 & RM96 wireless LoRa(TM) modules. This library currently supports the following product(s):
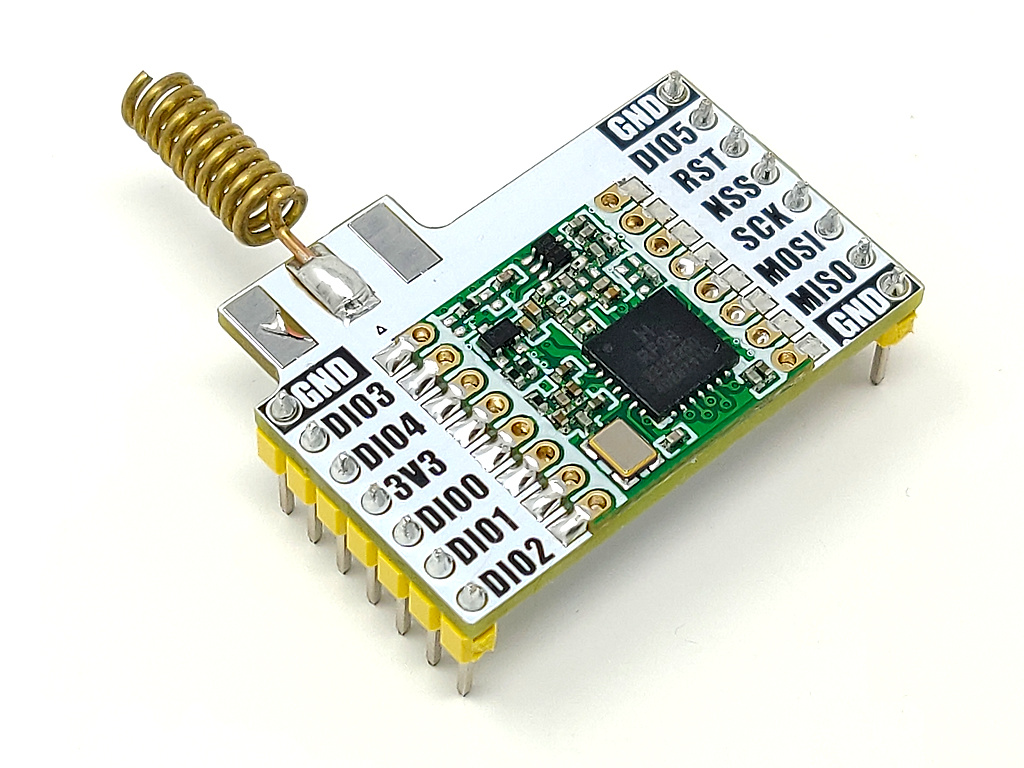
RM95 LoRa 868MHz Band Wireless Module (HCMODU0247)
https://hobbycomponents.com/lora/1188-r ... ess-module
Using the library
Step 1) Downloading the library
Download the latest HCRM95 library from the download section found at the bottom of this post.
Save it to somewhere convenient on your computer.
Step 2) Installing the Library
Once downloaded, open up your Arduino IDE and go to Sketch->Include Library->Add .ZIP Library.
In the file selection dialogue window that opens up, navigate to wherever you downloaded the HCRM95_Vx_x.zip file and select it, then click the ‘Open’ button.
Alternatively you can just unzip the library into your Arduino library folder usually found in the following location:
On Windows:
My Documents\Arduino\libraries\
On Mac:
Documents/Arduino/libraries/
Linux:
Usually found within the users home area under /Arduino/libraries/
Step 3) Including the library in your sketch
Adding the library to your sketch consists of 3 steps; Firstly, include the HCRM95 header file (HCRM95.h) at the top of your sketch, create an instance of the library, then finally initialise the library inside the startup() function:
- // Step 1: Include the mLink library
- #include "HCRM95.h"
- //Step 2: Create an instance of the library
- HCRM95 HCRM95;
- #define SS_PIN 10 // Slave select pin (NSS)
- #define RST_PIN 9 // Reset pin (RESET)
- void setup()
- {
- // Step 3: Initialise the library
- HCRM95.init(RST_PIN, SS_PIN);
- }
- void loop()
- {
- }

HCRM95.init(ssPin, rstPin);
Initialises the library where:
ssPin specifies the Arduino pin number connected to the modules slave select pin.
rstPin specifies the Arduino pin number connected to the modules reset pin.
Returns: void
HCRM95.reset(void);
Resets the RM95
Returns:
Void
HCRM95.cad(void);
Preforms a Channel Activity Detect (CAD). This function can be used to determine if the current channel is clear before performing a transmit.
Returns:
A boolean value where:
0 = No activity
1 = Channel is currently in use
HCRM95.txSend(*data);
Transmits on or more bytes of data where:
*data is a pointer pointing to the start of the data.
Returns:
void
Notes:
See library sketches for examples of how to pass values and text to this function.
This is a non-blocking function and will exit before the module has finished transmitting. You can use the txDone() function to determine if the module has finished transmitting before using the above function again.
HCRM95.txDone(void);
Checks to see if the module is currently transmitting.
Returns:
A boolean value where:
false = not transmitting
true = transmitting
HCRM95.rxAvailable(void);
Checks to see if any data has been received.
Returns:
A boolean value where:
false = no new data
true = new data available
HCRM95.getRx(*data);
Reads the last received data from the FIFO buffer where:
*data is a pointer pointing to the start of memory where the received data will be stored to
Returns:
A byte value containing the number of bytes received.
Notes:
If the size of the received data is greater than the size of the memory area then the data will be cropped.
See library sketches for examples of how to use this function.
HCRM95.rxSize(void);
Returns the size of the received data.
Returns:
A byte value containing the size of the data in bytes
HCRM95.setFreq(freq);
Sets the modules Tx/Rx frequency where:
freq is the required frequency in MHz
Returns:
Void
Notes:
When the library is initialised the default frequency is set to 868MHz (freq = 868).
Please check the correct frequencies of your country before setting this value.
HCRM95.mode(mode);
Sets the operating mode of the module where:
mode is the required mode. Valid values for mode are
MODE_SLEEP low power sleep mode
MODE_STDBY standby mode
MODE_TRANSMIT transmit mode
MODE_RXCONTINUOUS continuous receive mode
MODE_RXSINGLE single receive mode
Returns:
Void
Notes:
When the library is initialised the default frequency operating mode is MODE_SLEEP
HCRM95.setBW(bw);
Sets the RF bandwidth where:
bw is the required bandwidth. Valid values are
BW_7_8KHz
BW_10_4KHz
BW_15_6KHz
BW_20_8KHz
BW_31_25KHz
BW_41_7KHz
BW_62_5KHz
BW_125KHz
BW_250KHz
BW_500KHz
Returns:
Void
Notes:
Lower bandwidth values will reduce the data rate but will increase range.
When the library is initialised the default bandwidth is BW_125KHz
HCRM95.setSF(sf);
Sets the RF spreading factor where:
sf is the required spreading factor. Valid values are
SF_64
SF_128
SF_256
SF_512
SF_1024
SF_2048
SF_4096
Returns:
Void
Notes:
Lower spreading factor values values will reduce the data rate but will increase range.
When the library is initialised the default spreading factor is SF_128
HCRM95.lastRSSI(void);
Gets the RSSI of the last received data.
Returns:
An unsigned int containing the RSSI level in dBm


Diagrams, libraries, and example code are provided as an additional free service by Hobby Components and are not sold as part of this product. We do no provide any guarantees or warranties as to their accuracy or fitness for purpose.
Descriptions and diagrams on this page are copyright Hobby Components Ltd and may not be reproduced without permission.